Oracle Database XE, APEX, ORDS, Tomcat and httpd on CentOS 7: all-in-one guide - part one
The first part of the step-by-step all-in-one guide on how to install a full APEX environment on CentOS. It covers installation and configuration of the operating system for Oracle software and APEX in particular.


In this chapter of the guide we will be covering the installation and configuration process of CentOS Linux on our server (it could be on-prem or VPS - doesn't matter). Then we will prepare our setup a bit for Oracle software stack.
Installation of CentOS Linux
This chapter is here for Linux newcomers, so, if you think you are qualified enough to install the system on your own, be free to skip this chapter totally.
But in case you want to be sure you won't be doing anything wrong, proceed following my recommendations - I tested them myself at least twice - when installed the system on my server and then when prepared this post.
You can obtain the distribution from the CentOS project official website. Any option of the distro will be suitable, because we are going to set up the minimum install. In the examples below I will be using a DVD-iso version. After you download the disk image, you will need to prepare a bootable CD or flash drive (preferred) with it. I won't stop on how to make one, but if you're stuck, there's even an official instruction for you. Only one thing here - do not use Unetbootin for this, because many people report some problems during installation process when after using this stuff - installation just freezes somewhere in the middle. I myself used rawrite32, but there are also other options like dd, dd for windows or Win32 Disk Imager.
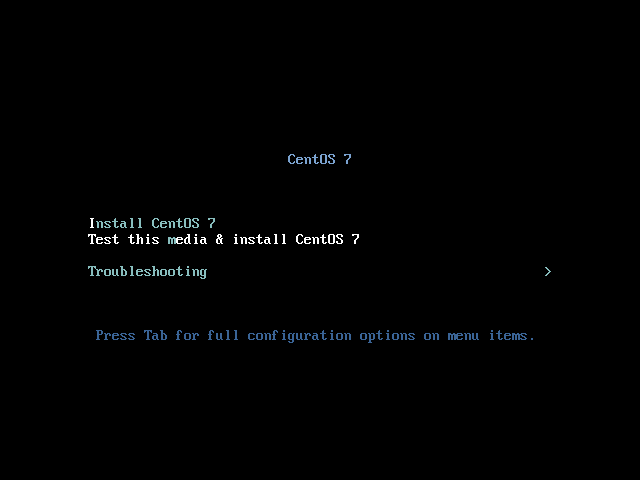
Ok, now, when you're ready with your bootable media, let's start the system with it already. After doing so, Anaconda installer should greet you:
After its loading and choosing the language, you're ended up on the Installation Summary screen:
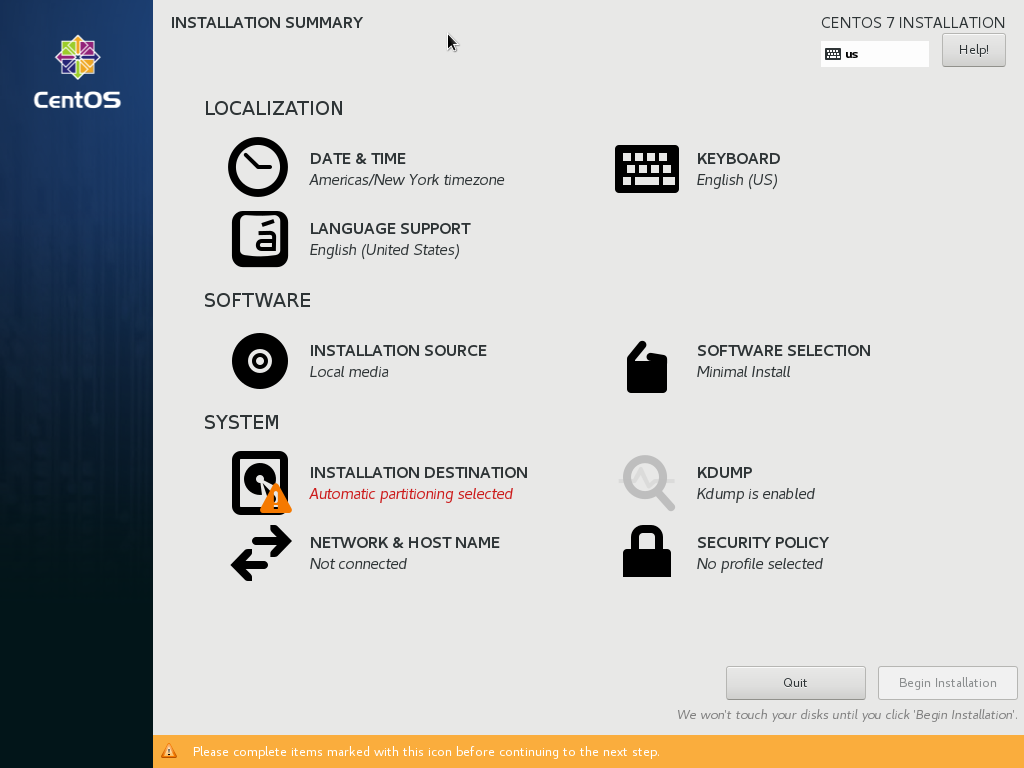
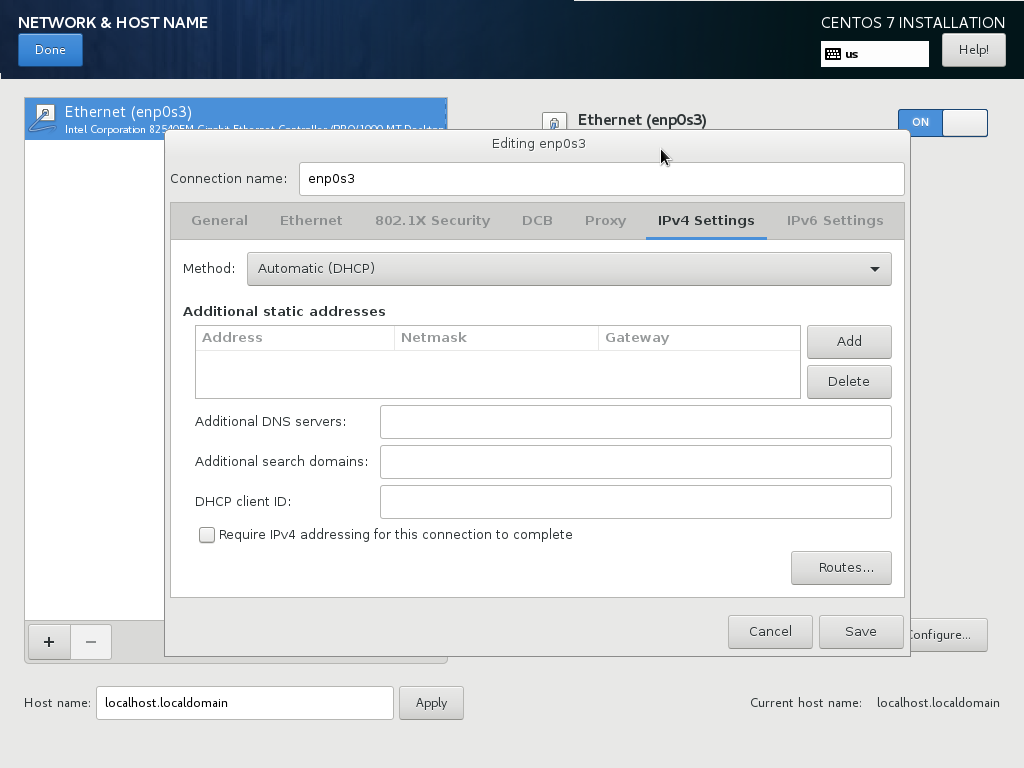
Here is the first tip - it is a good idea to set up a network connection first, because it'll help a bit with the further installation. Choose Network & Host Name in the menu, toggle the connection On and then click the Configure... button in the right bottom corner, here choose IPv4 Settings tab and now you're able to choose DHCP or add a static IP address if needed:
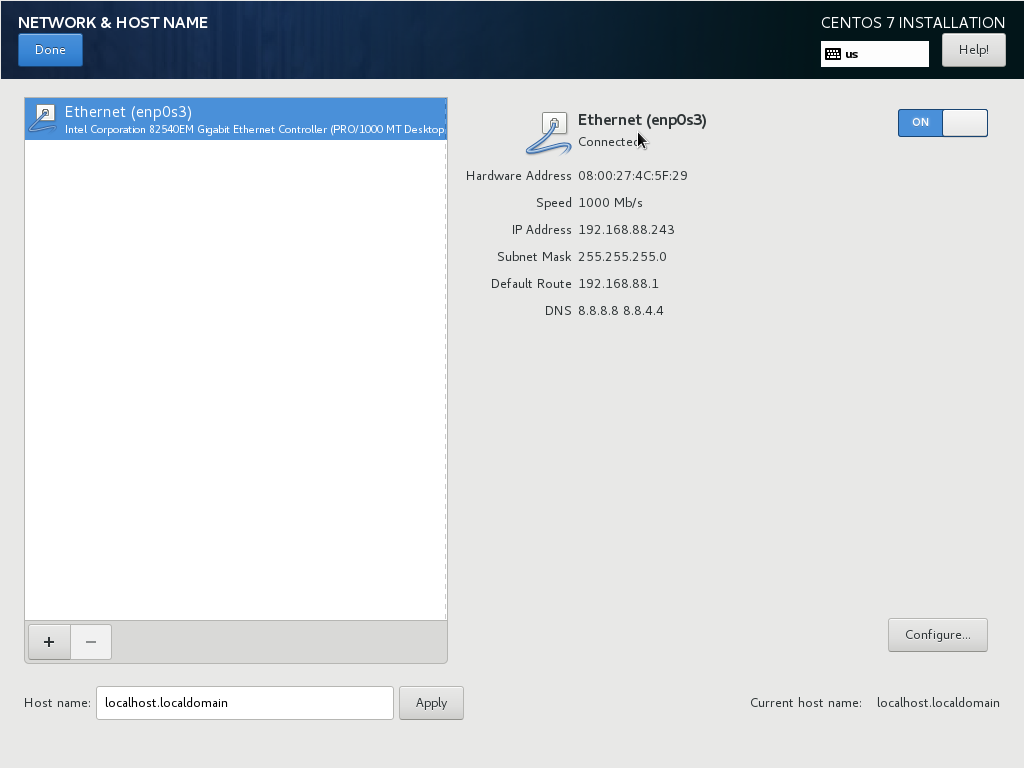
If everything is ok, you should see something like this:
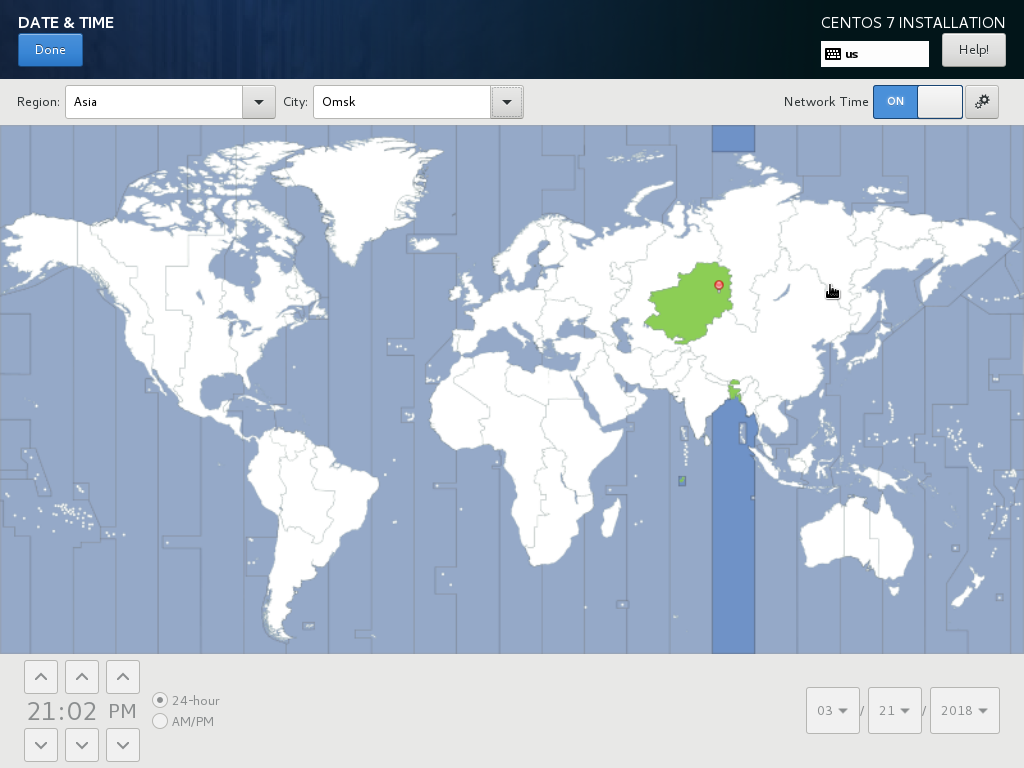
Now we are ready to set up everything else. Let's start with date and time. Go back to the Installation Summary screen and choose Date & Time in the menu. On the next screen set your region and city which in its place will set a correct timezone for you, and switch the Network Time on. Everything else will be set up for you automatically because you should already have an Internet connection.
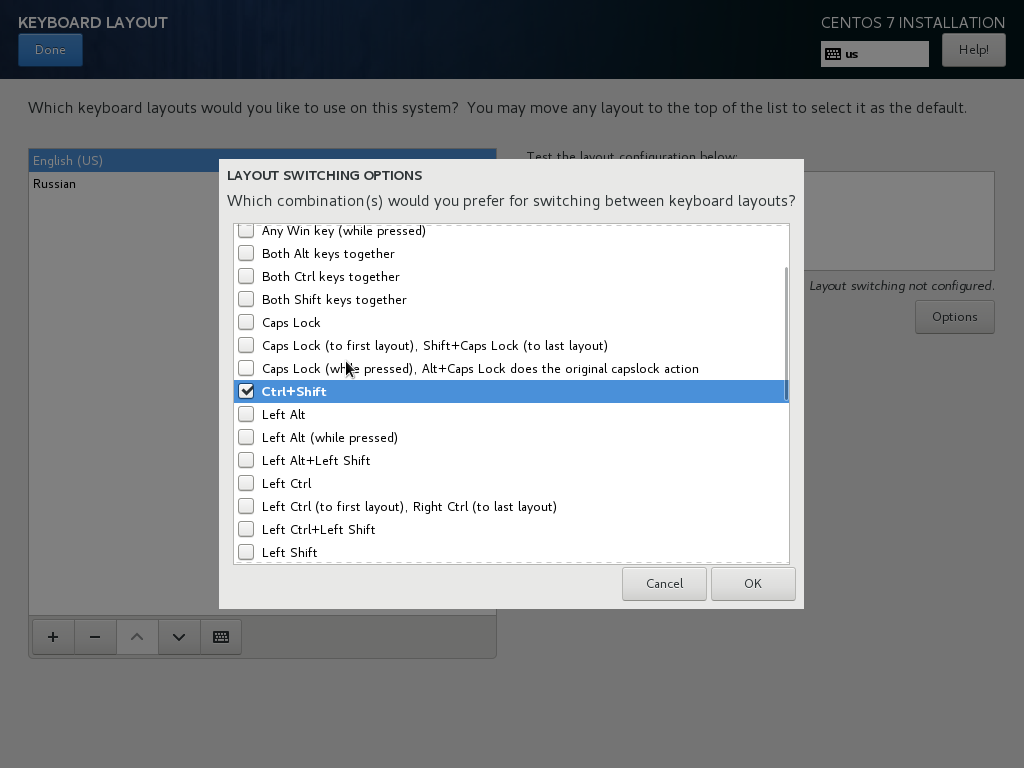
Then keyboard settings. Click Keyboard in the menu. For many users default settings will be ok here, but if you, like me, need an additional layout, just add it. Then configure layout switching options using the Options button. Yes, I'm from dark ctrl+shift side.
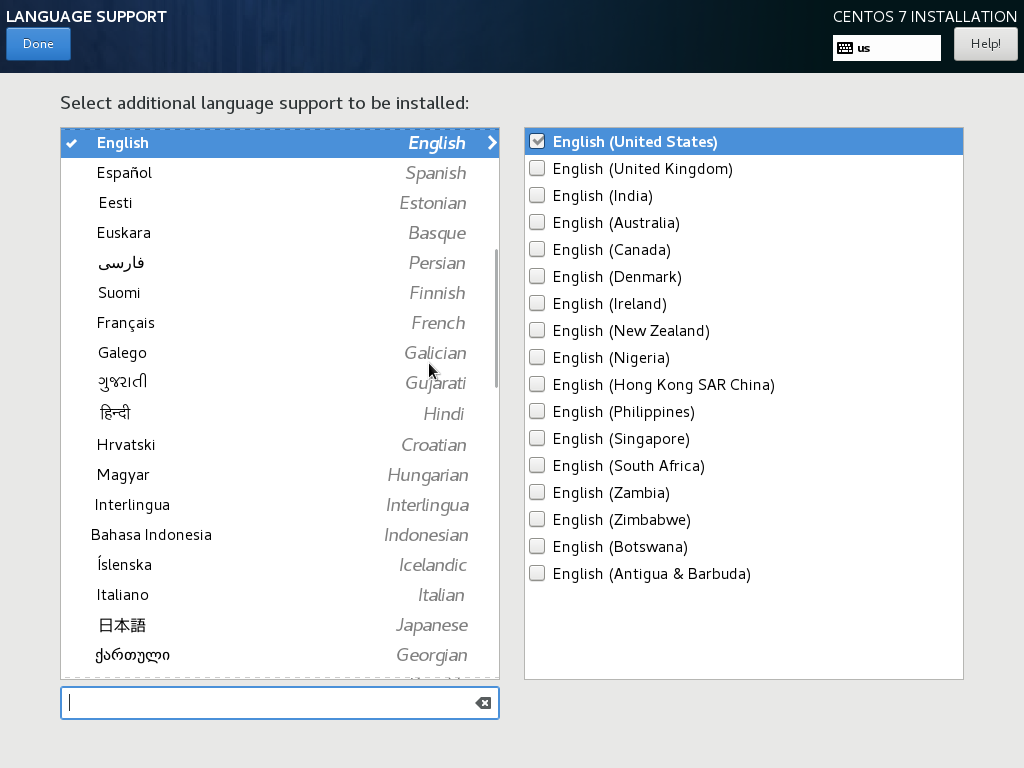
If you need support for a different language, click Language Support in the main menu and add the desired languages.
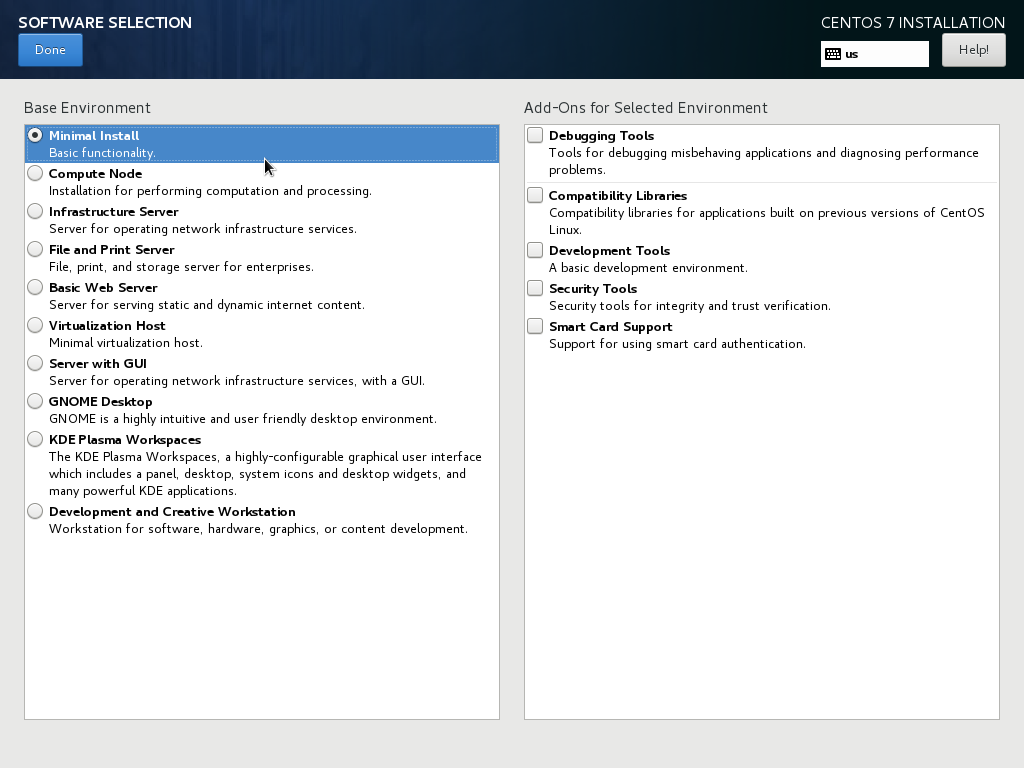
Under the Installation Source menu item you will see that you're installing the system from local source. It is totally ok and nothing should be done here. Now, just check that you are installing the Minimal Install option under the Software Selection menu item. Everything else we need we are going to install manually.
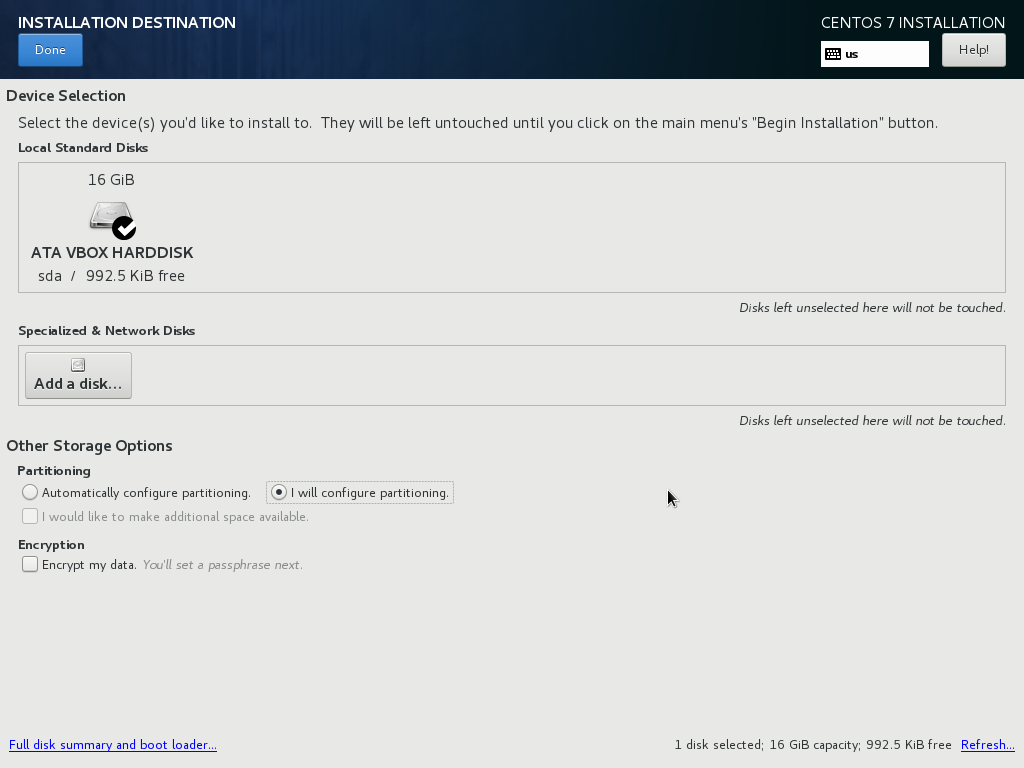
Now the most interesting part - disk partitioning. Click the Installation Destination menu item and select the desired hard disk. If you have only one, it is checked by default. Now I'd recommend you to select I will configure partitioning in order to be able to partition the disk manually. Click Done then.
On the next screen you're invited to choose your partitioning schema. I prefer clicking the link Click here to create them automatically to pre-create the schema. When you're done, you see a screen like this one.

The size of the partitions depend on the amount of RAM in your computer and on the size of the hard drive respectively. As you can see, by default CentOS 7 offers you a standard partition type for /boot and an LVM-based root partition, both of xfs filesystem. I'm quite ok with this, but if you like, you can choose a standard partition type for your root partition, or a filesystem, different to xfs (for example, ext4, which is also very reliable). Advantage of using LVM-based partitions is the fact they could be easily extended with another physical drive (your logical drive will be the same) or even shrunk (though not on xfs filesystem, for this you will need, for example, ext4). However, LVM is not supported on a boot partition. The only things that I changed in this standard partitioning schema were the name of the Volume Group and the swap size.
Note the fact that Oracle Database XE requires at least 2GB of swap size and recommends the swap size doubles the size of the RAM available.
Look through the summary when you click the Done button and then click Accept Changes.

Click the Begin Installation button to start the installation process finally. During the installation you will be prompted to set the root user password. I'd recommend to set a long enough but easy to remember password, something like WithGreatPowerComesGreatResponsibility or YouKnowNothingJohnSnow.

Click the Reboot button when the installation ends and remove your installation media.
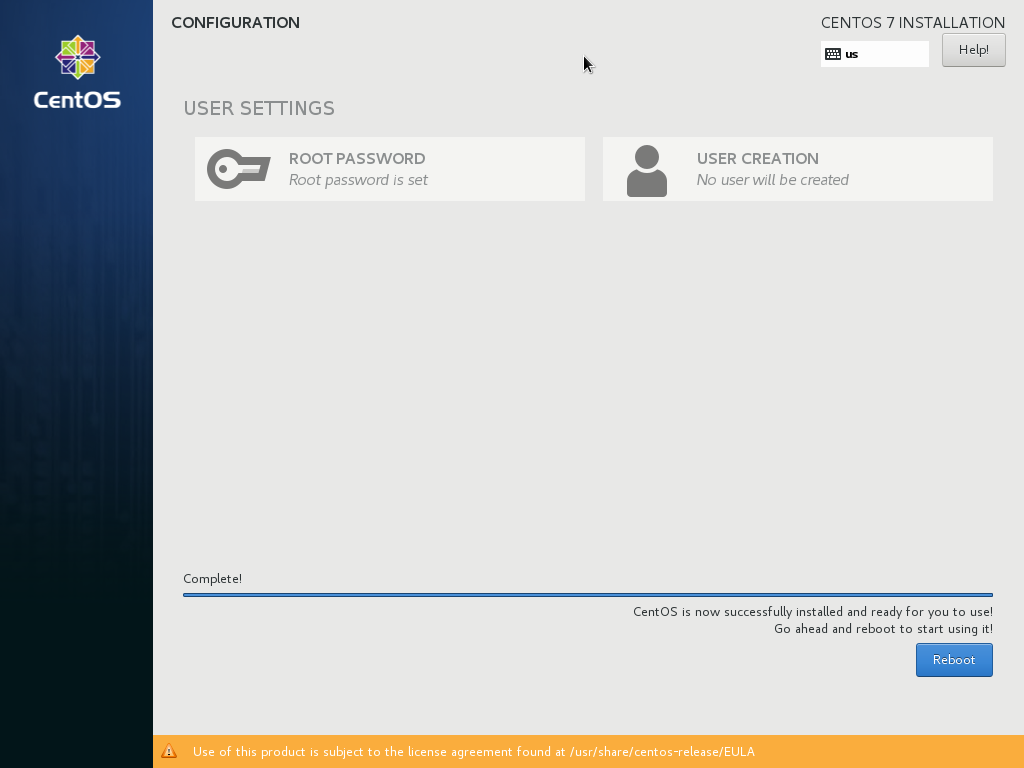
Congratulations! CentOS Linux should be properly installed on your machine now and we are ready to install and configure the needed software.
Updating the operation system
It is a good idea to update your system regularly. Assuming something could change from time the distribution was released, we need to update the system after first start.
yumis the powerful and standard package manager for CentOS Linux. I recommend using it everytime you are installing or deinstalling software, because it keeps a reliable journal of all installations and can automatically resolve all dependencies when you install or deinstall software.
So, to make your system up-to-date execute this:
yum upgrade -y
Now we are ready to install software.
Installing prerequisites and some useful utils
To install some pre-requisites useful software crucial for comfortable usage of your system, execute these commands:
yum install java-1.8.0-openjdk.x86_64 java-1.8.0-openjdk-devel.x86_64 mc net-tools.x86_64 htop iotop iftop unzip wget epel-release -y
yum install rlwrap -y
A few words about the packages installed:
java-1.8.0-openjdk.x86_64andjava-1.8.0-openjdk-devel.x86_64are Java 8 Development Kit packages, which are needed for Tomcat and ORDS to operate.
Installing Java from official repository using
yumshould set all the needed environment variables. But you can check it by executing the commandjava -versionand if it works, everything is ok. But if not, then correctly set the$PATHand$JAVA_HOMEvariables.
mc- Midnight Commander - a really powerful file manager similar to Norton Commander or FAR Manager.net-tools.x86_64- useful and customary network utilities such asifconfigandnetstat. The thing is in CentOS 7 they replaced these usual utilities withipandsscommands, so to be able to useifconfigit should be installed manually.htop- a very good alternative to standardtoputility. It is much more powerful and can be flexibly configured.iotop- input/output read/write monitoring utility. Very useful to check disk problems when using a database.iftop- an utility to monitor network bandwidth.unzip- unzip utility.wget- a command-line utility to fetch files from the remote source (HTTP or FTP-host for example).epel-release- an additional repository for CentOS with loads of useful software, called EPEL (stands for Extra Packages for Enterprise Linux).rlwrap- a command-line wrapper utility, irreplaceable thing when it comes to usesqlpluson Linux. Always userlwrap sqlplusinstead of justsqlplusto see the difference. These utils installs from EPEL repository.
Initial system configuration
Network time synchronization
There's an utility called chrony for this purpose in the minimal CentOS installation:
systemctl start chronyd
systemctl enable chronyd
Disabling SELinux on CentOS 7
Now, we need to disable selinux. Its configuration and usage is a topic for a different series of blog posts, so here we'll just omit all this.
Type this command:
mcedit /etc/sysconfig/selinux
And change the value SELINUX=enforcing to SELINUX=disabled, then save the config file. After doing this, execute this to disable selinux in the runtime:
setenforce 0
Configuring the firewall
CentOS 7 uses firewalld as a main firewall service, which is an additional abstraction level above iptables. In many other guides you could see people disabling it and returning to use iptables directly. I don't know why, maybe because it always hard to pick up something new. And so, I tried, and really liked firewalld ease of configuration (especially in comparison to iptables if you're new to it).
To configure the firewall, we are going to do these things:
- Add a new service called
oracle-db. - Set the new service description and add the port to it.
- Enable such services as
http,httpsandoracle-xefor the default zonepublic. - Reload firewall list of rules on-the-fly.
To do this all, execute the commands below:
firewall-cmd --permanent --new-service=oracle-db
firewall-cmd --permanent --service=oracle-db --set-short="Oracle Database Listener" --add-port=1521/tcp
firewall-cmd --permanent --zone=public --add-service=http
firewall-cmd --permanent --zone=public --add-service=https
firewall-cmd --permanent --zone=public --add-service=oracle-db
firewall-cmd --reload
Now we are ready to install the Apache Tomcat and httpd.
Installing of Apache Tomcat and Apache httpd
To install both the application and the web server we will be using yum, because it is the safest and the easiest way I know so far. You're still able to manually download and install them, but this is not the aim of this guide. Only one thing here - it is assumed that you have completed all the steps from above (installing JDK in particular) before proceeding with the installation.
So, in order to install Tomcat and httpd run this:
yum install tomcat httpd -y
This will install Tomcat 7 and Apache httpd 2.4 on your system. The 7th version of Tomcat is more than enough for us. Then, to start the services and to start them on startup, let's do the next:
systemctl start tomcat
systemctl enable tomcat
systemctl start httpd
systemctl enable httpd
That's it! By now both Tomcat and httpd should work on your system and should listen ports 8080 and 80 respectively on your server. Note the fact that we intentionally didn't open port 8080 on our server, because we are not going to use it. Instead, httpd will reverse proxy all requests to Tomcat using AJP protocol listener on port 8009.
You even may disable the HTTP connector on port 8080 in Tomcat's
server.xmlconfig (this is very optional). I will not tell you how to do this, consider it an exercise. Do not forget to restart the Tomcat service afterwards in case you already opened yourmcfile manager.
Next Chapters
Here we're done with the operating system and software installation and initial configuration. Our further steps will be to install Oracle software and then to configure it properly.
Here are the links for your convenience:
- Part 2. Installation of Oracle Database, ORDS and APEX itself
- Part 3. Additional configuration (optional)
- Part 4. Setting up SSL, redundancy and backups (optional)
Previous Chapters
In case you missed some previous steps, please, use the following links to catch up:
Hope this post will be helpful for you. Be free to leave your comments if you have some advice or found a mistake!